
How to Create a Public Status Page in Under 10 Minutes: A Step-by-Step Guide
Learn how to create a status page in 10 minutes: choose services, connect monitors, set up a custom domain status page, then publish and share it.
How to create a status page: a step-by-step guide (basic setup in about 10 minutes)
You can create a status page in about ten minutes, provided your monitors are already running and you have access to your DNS settings. Choose the customer-facing services you want to show, connect your existing monitors to status components, add your branding and a custom domain, then publish the page and link to it from your app and support pages. The clicking is quick. The part that takes real thought is deciding what to show and how to word it, so that's where we'll spend most of our time.
One honest caveat before we start. The initial setup takes about ten minutes, but DNS changes for a custom domain can take longer to propagate, sometimes up to 24 hours. Testing the page and adding links in your app and help centre will add another 10 to 20 minutes. So start the domain setup early, and don't announce the link until it loads properly over HTTPS.
Do you need a public status page?
Picture it. It's 9:12am, your API is wobbling, and your support inbox is filling up with 'is it just me?' messages. Each one needs a reply, and each reply pulls someone away from fixing the actual problem.
A public status page gives customers one trusted place to check. It doesn't prevent outages (nothing does), but it tells people what's affected and what you're doing about it. That usually means fewer repeat tickets and a calmer team.
I know the worry: won't admitting problems publicly make us look flaky? In my experience it's the opposite. Customers tend to worry more about silence than about an outage. Large providers like GitHub and Cloudflare publish status pages that break incidents down by component, so customers can see what's affected instead of reading a vague 'we're down' notice.
The stakes are real too. Uptime Institute's Annual Outage Analysis 2024 reported that 54% of survey respondents said their most recent significant outage cost more than $100,000. That's a survey of IT and data centre operators, not of SaaS companies, and it says nothing about status pages specifically. Still, it shows why handling outages well matters.
A status page is only as trustworthy as the monitoring behind it. If it relies on someone remembering to flip a switch, it'll be wrong at the worst moment. A public status page works best alongside proper uptime monitoring and incident alerting, so your team hears first and the page can update itself.
What you'll need: at least a few monitors already running, and access to your DNS settings. If you don't have monitors yet, Moonitor offers a 7-day free trial (check the pricing page for the current terms).
Here's a realistic time budget:
- Choosing services: 3 minutes
- Connecting monitors: 2 minutes
- Branding and custom domain setup: 3 minutes (plus DNS propagation, which can take up to 24 hours)
- Publishing: 2 minutes
- Testing and linking it from your app and support pages: 10 to 20 minutes
Step 1: Decide which services to show on your public status page
This is the step that matters most, and you can do it with pen and paper (or a note on your phone) before touching any settings.
- Start with the customer's view, not the engineering view. List what customers would notice if it broke: the web app, login, API, dashboards, webhooks. Forget the internal plumbing for now.
- Apply a simple rule. Show things customers depend on, and keep things only your team cares about off the page.
- Pick your public examples. Website monitoring for your marketing site and app, API monitoring for public endpoints, and heartbeat monitoring (where a scheduled job 'checks in' and you're alerted if it doesn't) for customer-facing jobs like report delivery all belong here.
- Pick your private examples. Staging servers, internal cron jobs, individual server metrics and the database host are your to-do list, not your customers'.
- Group by names customers recognise. 'Web App', 'API' and 'Email Notifications' beat 'prod-eu-west-2 load balancer' every time.
- Aim for roughly 4 to 8 components. Too many creates noise, and too few hides useful detail.
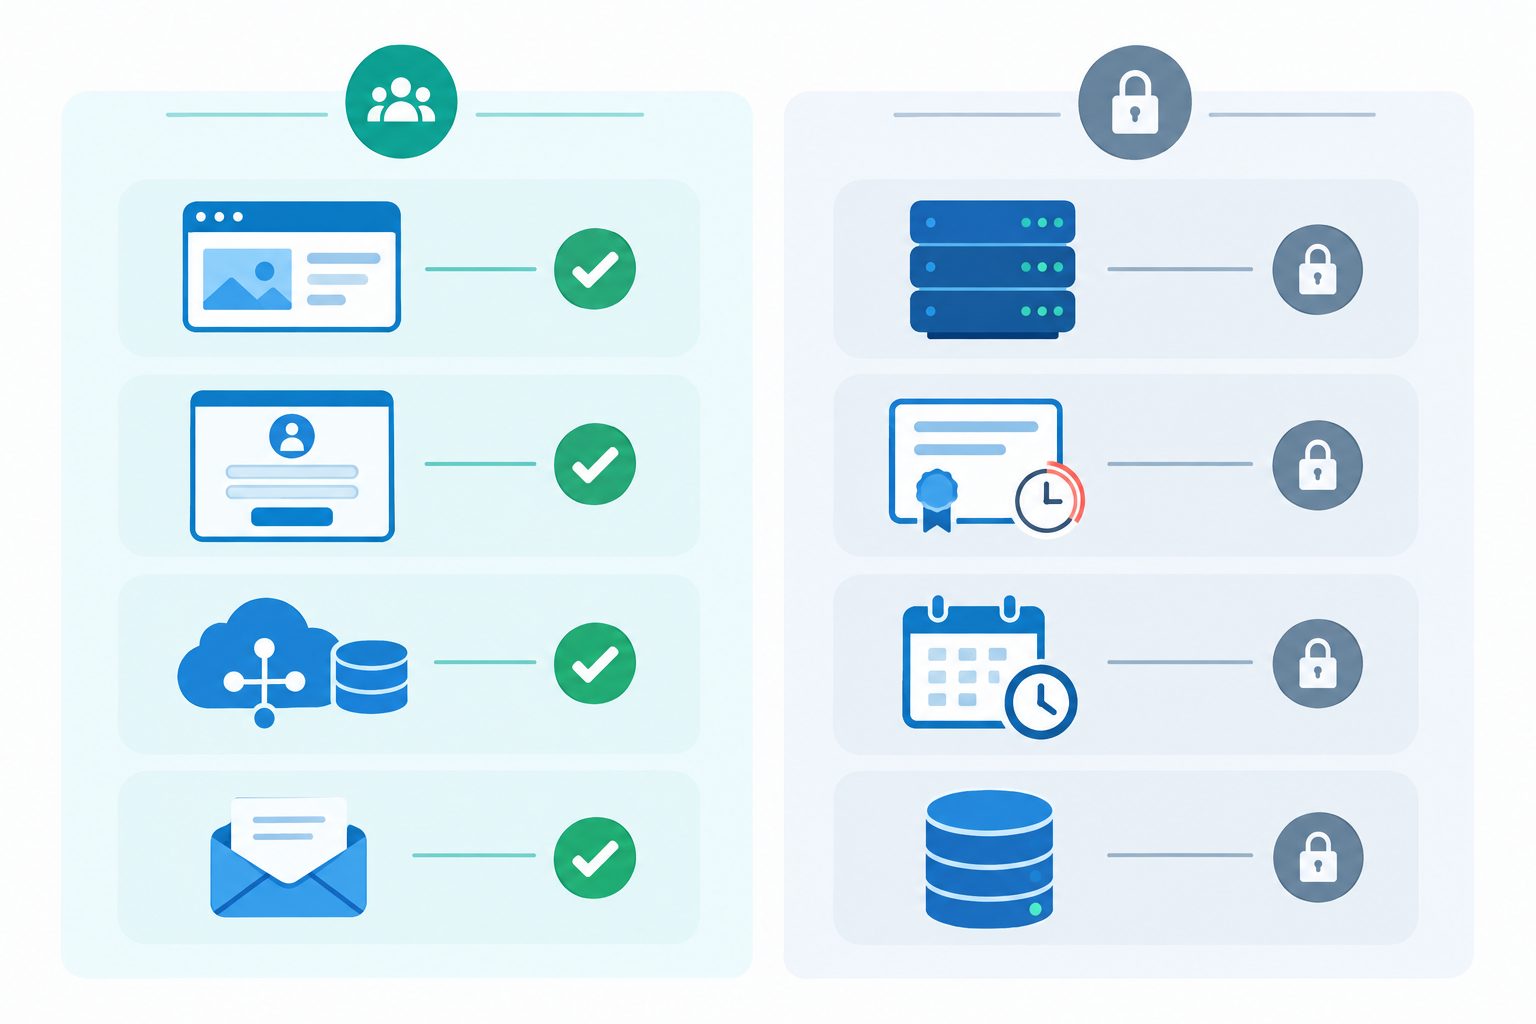
A note on SSL and domain expiry checks: the checks themselves are usually internal, because they're early warnings for your team. But if an expired certificate or domain actually breaks something customers use, that's a customer-facing incident. Report it on the relevant public component, such as 'Web App', in plain language.
Example: choosing public status page components
Imagine a small B2B SaaS with twelve monitors:
- Marketing site (HTTP/S)
- App homepage (HTTP/S)
- Login page (keyword, meaning it checks for expected text on the page)
- Public API health endpoint (HTTP/S)
- API docs site (HTTP/S)
- Nightly report job (heartbeat)
- Webhook delivery check (HTTP/S)
- Staging app (HTTP/S)
- Database host (port)
- Internal backup job (heartbeat)
- SSL expiry for the main domain
- Domain expiry for the main domain
They'd publish five components: Website, Web App and Login, API, Webhooks and Scheduled Reports. The staging app, database port, backup job and both expiry checks stay internal. Twelve monitors, five components, and nothing customers don't need.
A quick security tip: don't expose anything that helps attackers, such as internal hostnames or ports. Friendly component names help with this too.
Step 2: Connect monitors to status page components
Now for the clicking. Dashboards change as products evolve, so I'll describe the flow rather than quote button labels. Follow the labels you see in your own Moonitor dashboard, and check the current documentation if anything looks different.
- Create the status page from your dashboard and give it a working name.
- Add a component for each service you listed in Step 1, using the customer-friendly names.
- Attach monitors to each component. A component can be backed by one monitor or several. For example, 'API' might combine an HTTP/S monitor on your /health endpoint with a keyword monitor checking for expected response text.
- Check the mapping. Make sure nothing private is attached to a public component by accident.
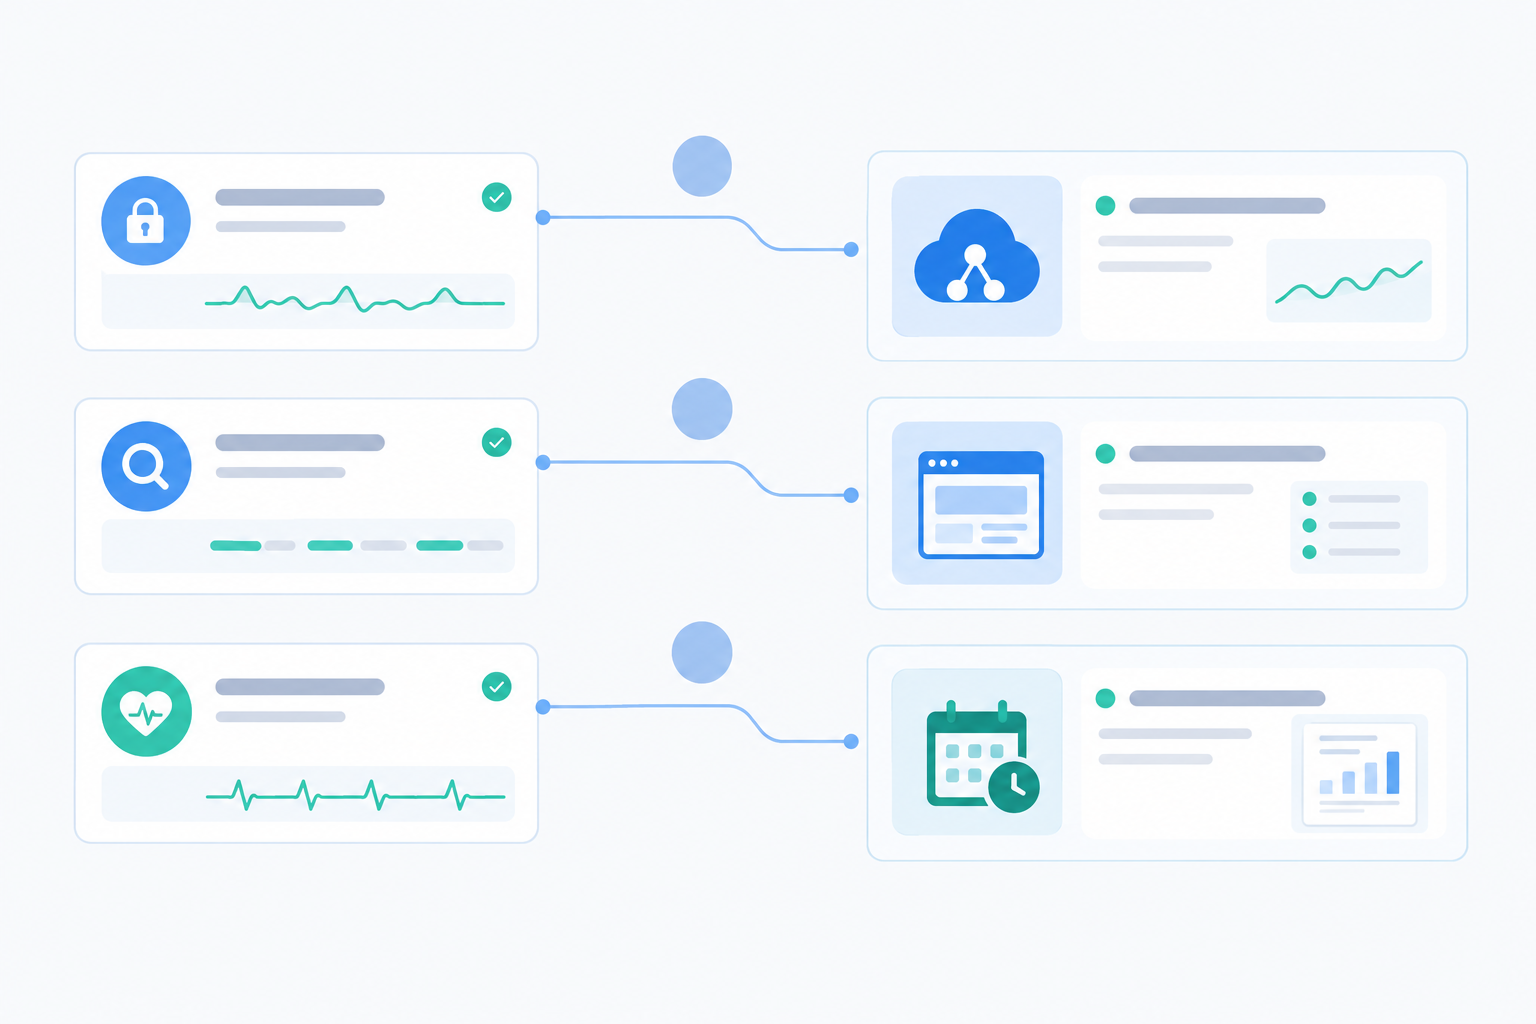
The image above is a conceptual illustration of how monitors map to components, not an exact copy of the current interface.
Why multi-region verification helps prevent false status changes
A status page that flips to 'Down' because of a single-location blip erodes trust quickly. With multi-region failure verification, a failure has to be seen from more than one location before it counts. That reduces the chance of a local network hiccup triggering a public status change. It can't make detection perfect, so keep an eye on how your page behaves in the first few weeks.
It also means nobody has to edit the page at 3am for the basics. Confirm in your setup that component status updates automatically from monitor results, and add a human explanation on top whenever there's something worth saying.
Optional extra: uptime figures
Uptime percentages over 30 or 90 days can be a nice addition. My advice is to only show figures you're comfortable standing behind. If your last 30 days were rough, a number on the page is a promise you're making in public.
How to write clear status page components and incident updates
This is where the real thought goes. Your customers aren't thinking like engineers when something breaks. They want to know three things: what's affected, what it means for them, and whether you're on it.
| Situation | Wording that confuses | Wording that reassures |
|---|---|---|
| Component name | DB cluster | Saving and loading your data |
| Component name | Auth service v2 | Dashboard and login |
| Degraded status | Elevated p95 latency | Degraded performance: pages may load slowly |
| Investigating | Some users may experience issues | We're investigating failed logins for some customers. Existing sessions are unaffected; new logins may fail. |
| Resolved | Issue resolved | Logins are working normally again as of 10:42 GMT. We'll share a short summary once we've finished reviewing what happened. |
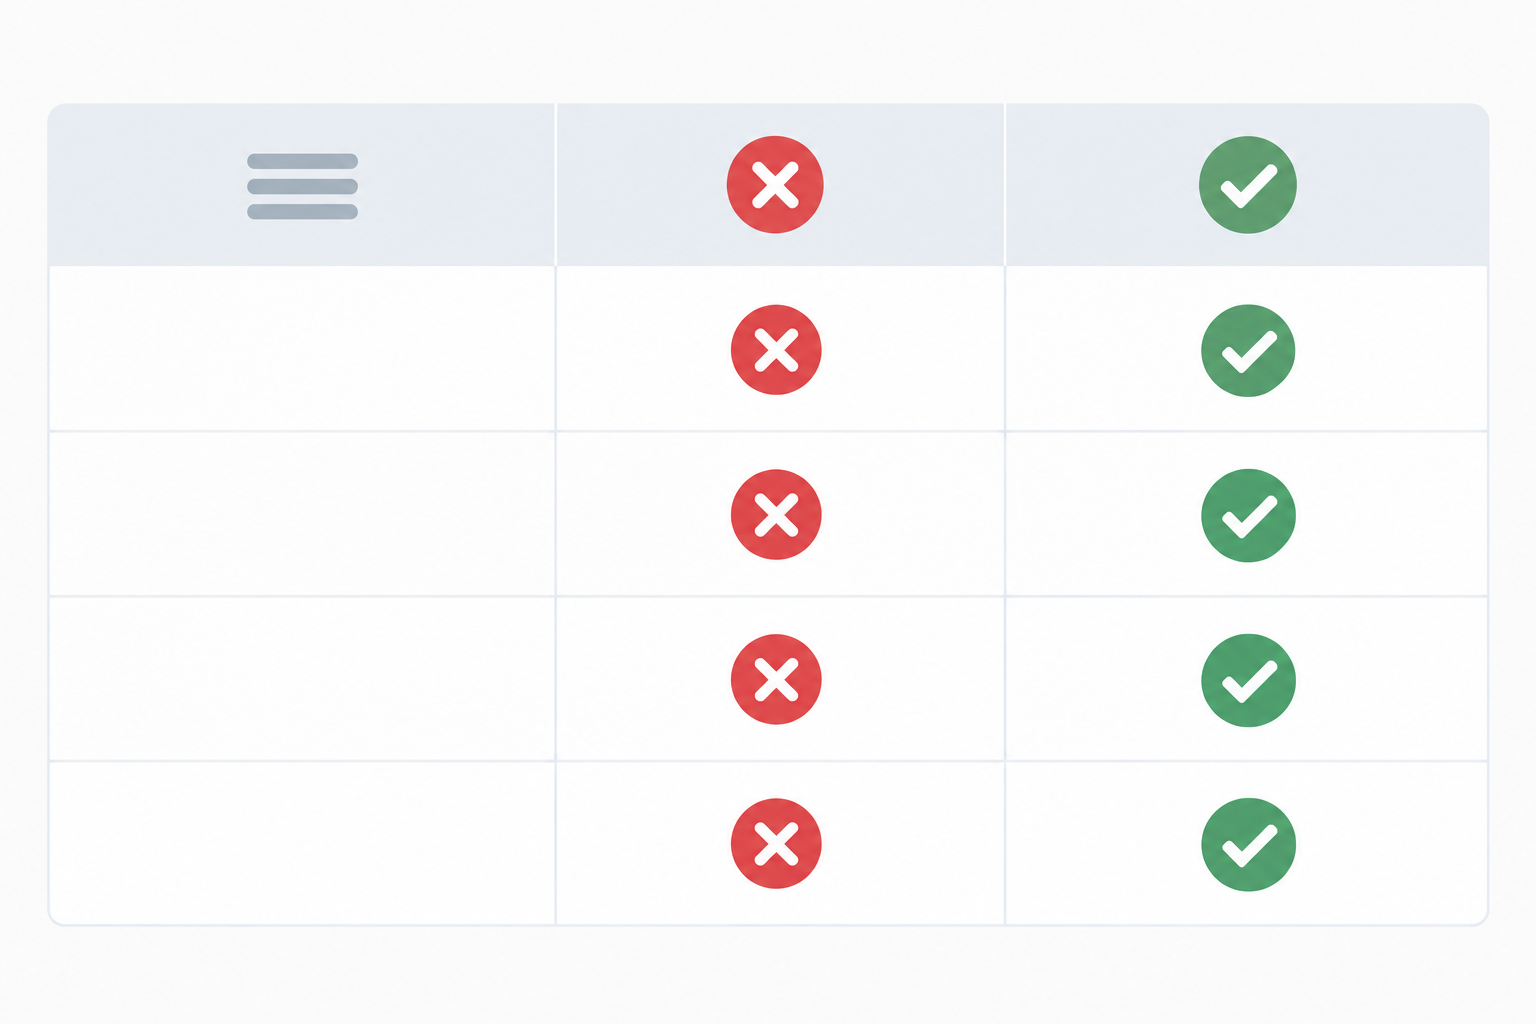
Tips for writing status page updates
- Keep it calm, factual and human. No drama, no jargon.
- Don't blame anyone. Don't point at a third party or a person.
- Say what customers can do. Even 'nothing needed from you' is useful.
- Don't over-promise fix times. 'Next update in 30 minutes' is safer than 'fixed shortly'.
- Use clear timestamps. If your customers are in the UK, write GMT or BST explicitly so nobody's guessing, especially around the clock changes in March and October.
One last reminder: incident history is public. Write every update as if a customer's CEO will read it. Someone probably will.
Step 3: Add branding and a custom domain to your status page
This takes about three minutes of your time, plus whatever DNS needs to catch up.
- Upload your logo and pick your brand colours. Set the page title and a short intro line so it feels like part of your product. Check there's enough contrast between text and background, and that the page still makes sense without relying on colour alone.
- Choose a custom domain. A custom domain status page, such as status.yourcompany.com, builds trust and looks consistent. The 'status.' subdomain convention is worth following because customers instinctively try it.
- Add the CNAME record. A CNAME is a DNS entry that points your chosen subdomain at the server hosting your status page. At your DNS provider, create one for your status subdomain using the exact target and any verification steps Moonitor gives you. Only touch the subdomain, and leave your main website's records alone.
- Wait for propagation. It's often minutes, but it can take up to 24 hours depending on TTL (how long DNS answers are cached) and resolver caching. That's why I suggest doing this early and publishing later.
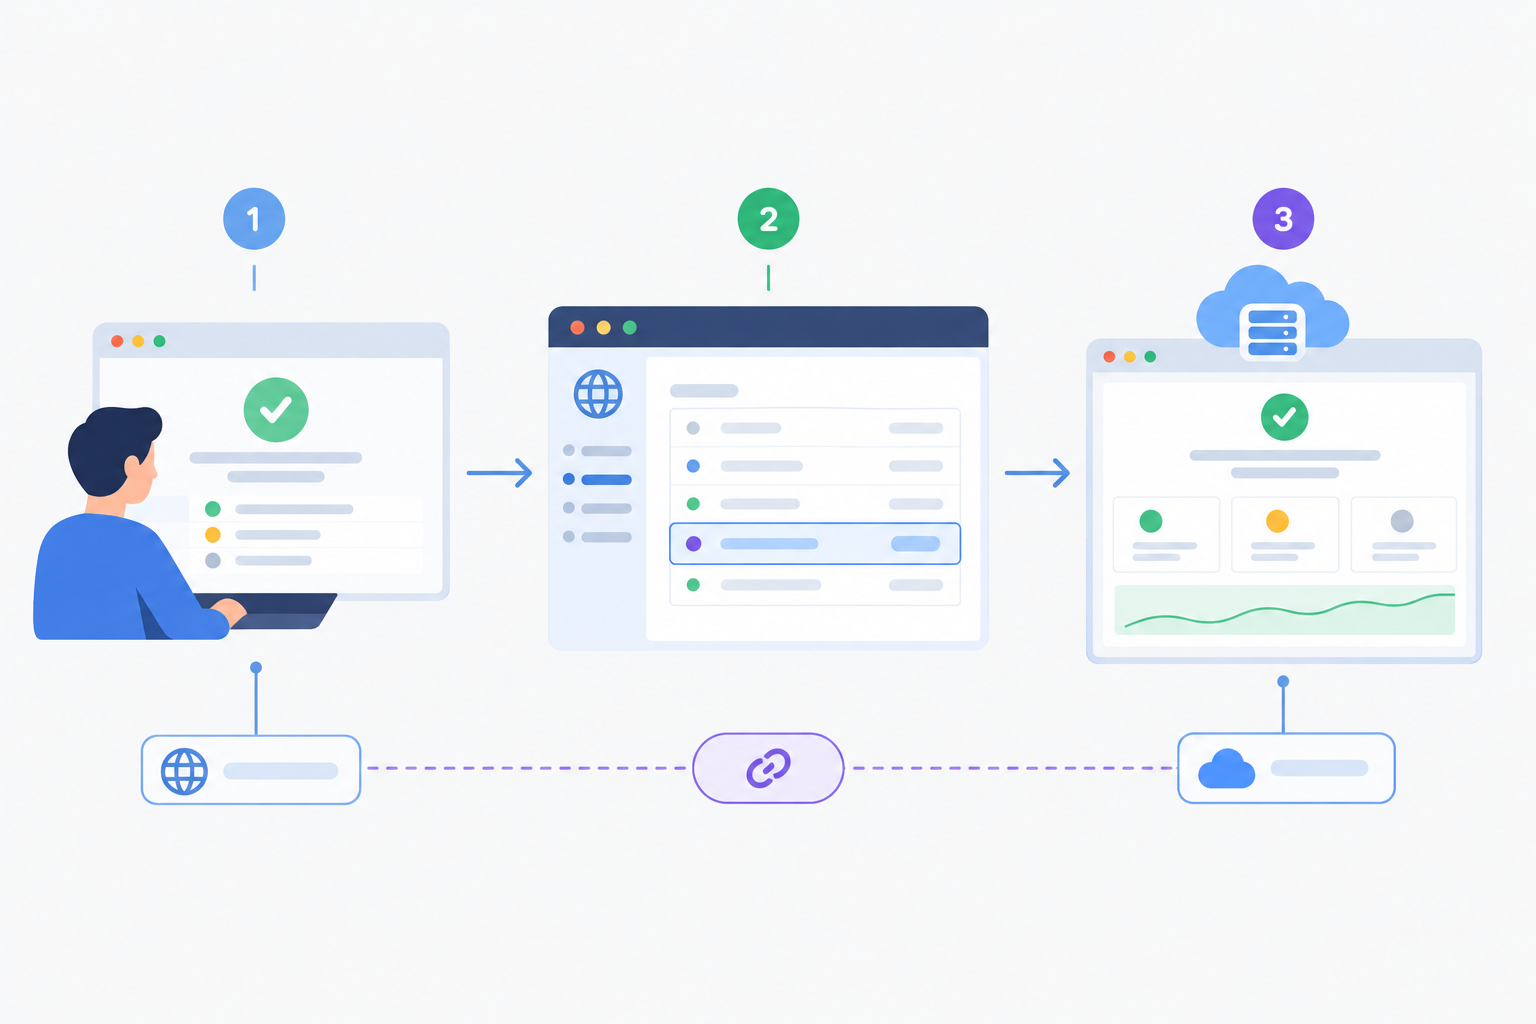
Keep your status page independent of your app
If your status page lives on the same infrastructure as your product, one outage can take both down, and that's the worst moment to lose your communication channel. A separate subdomain pointing at externally hosted infrastructure avoids that.
Protect and test your custom domain status page
Once the domain is live, monitor it. Add a DNS monitoring check on the status subdomain so an accidental record change doesn't quietly break it, and add SSL certificate monitoring too. A browser warning on your status page during an incident is not the look you want.
Custom domain status page troubleshooting
- CNAME not resolving: check for typos, and give it time. Look it up with a DNS lookup tool or from a private browser window.
- Conflicting records: a subdomain can't normally have a CNAME alongside other records of the same name. Remove the old A or CNAME entry first.
- Certificate pending: this often clears once DNS has fully propagated. Check again before assuming something's wrong.
When it's working, open the URL in a private window, confirm the logo and title look right, and check that it loads over HTTPS.
Step 4: Publish your status page and share the link
You're nearly there.
- Preview on desktop and mobile. Most customers will check from their phone during an incident, so make sure it's easy to scan on a small screen.
- Make the page public.
- Test it. Temporarily pause a non-critical monitor, or use a test component, so you can see how a problem looks. Walk through an incident end to end: the status change, any manual update, the resolution message and the history entry.
- Understand how it fits with team alerts. Alerts by email, Slack, Discord, Telegram or webhooks tell your team first, and the public page follows. That order matters, because you want to be investigating before customers start asking.
- Tell your own people. Let support, success and sales know where the page is and who owns updates.

Tip: decide who posts manual updates and agree a rough standard, such as 'first update within 15 minutes of confirmation'. It doesn't have to be fancy, only agreed.
Step 5: Link your status page from your app and support pages
A status page nobody can find is just a nice-looking secret. Here are the places I'd link it first, in rough priority order:
- App footer and login page. This is where people go when something feels off.
- Help centre and support contact page. Ideally above the contact form, so it deflects tickets before they're written.
- Support auto-reply and email signature. Something like 'Check status.yourcompany.com for live updates' works well.
- API documentation and error pages (500/503). Developers and stuck users look here first when requests fail.
If you have time, add it to your website footer, your terms or SLA page, and any in-product banners for planned maintenance.
Then build a light habit: review your components quarterly, retire any that are noisy or unhelpful, and look back at the incident history after every major event. It's a living page, not a one-off task.
Common status page setup mistakes to avoid
Everyone makes a few of these. Here's what to watch for:
- Showing everything. It overwhelms customers and exposes needless detail.
- Vague wording. 'Some users may experience issues' tells people nothing about what's affected.
- Letting it go stale. A page last updated months ago suggests either nothing ever goes wrong or nobody is looking.
- Relying purely on manual updates. You will forget at 2am, so let monitors handle the basics.
- Hiding incident history. A visible, honest record is a trust signal, not a liability.
And please don't stress about perfection. A simple, accurate page beats an elaborate one that never ships.
Summary: create a status page in five steps
That's the whole flow: choose, connect, brand, publish, link. The mechanics are quick. What makes a public status page useful is the thinking about which services matter to customers, and how you word what's happening when they don't.
If you'd like to try it with Moonitor, there's a 7-day free trial. Plans, including limits on monitors, API access and data export, change over time, so check the current pricing page for details. Prices may be listed in US dollars, so factor in exchange rates and any VAT if you're buying from the UK.
My encouragement: publish a simple version today and improve it later. Your future self, and your support inbox, will thank you. 💙
Emma
Frequently asked questions about public status pages
Do I need a status page if I'm a small SaaS?
Usually, yes. Small teams often benefit most, because customers can check for themselves instead of emailing you while you're trying to fix the problem.
Which monitors should appear on my public status page?
The ones that map to services customers rely on, such as your web app, login, public API and customer-facing scheduled jobs. Keep internal checks like staging servers and database hosts private. If an expiring certificate or domain breaks something customers use, report it on the affected public component rather than hiding it.
Can I use my own domain for my status page?
Yes. A subdomain like status.yourcompany.com is the usual choice, set up with a CNAME record at your DNS provider. Host it separately from your main app so it stays reachable during an outage, and allow time for DNS to propagate.
Where should I link my status page?
Wherever customers go when something feels wrong: your app footer, login page, help centre, support auto-replies, API documentation and error pages.
Will a public status page make my product look unreliable?
Generally not. Clear, prompt updates tend to build trust, while silence is what damages confidence.
Do I have to update the page manually during incidents?
Not for the basics. Component status can follow your monitors automatically, and multi-region verification helps reduce false alarms. Add manual updates to explain what's happening and what customers should do.